Sage Monkey

Sage Monkey
Showing posts with label Dog Recipes. Show all posts

Sunday, June 9, 2013

Homemade Gourmet Frosty Paws

Things are about to get real people......real flippin good.

You might be asking yourself why bother to make frosty paws gourmet? Why go through the trouble to kick them up a notch? Well because after a few bourbon and lemonade slushies you can totally enjoy one with your dogs. That's why....because they are amazing.

Couple things to keep in mind when you are making these for your dogs:

1. Only use dog approved food so that means no chocolate, no raisins, no grapes, no macadamia nuts, no salt and no dairy based ice cream. If your unsure whether or not your dog can have something check a toxic dog food list before preparing them treats. Your dog WILL think your a total jerk if you make them sick. Just saying.

2. When buying the frozen yogurt try to get plain, low fat yogurt and go organic if you can. Often fruit flavored yogurts contain additional sugars and if your hunting dog is anything like my gals the last thing they need is any amount of assistance in being spastic. Today I used fat free vanilla bean frozen yogurt because its what I happened to have my in freezer and its delicious.

3. I like to use 9 oz. coated paper cups as opposed to the 5 oz cups. I find the 5 oz cups to be to small in diameter and it makes it more difficult to stuff the awesomeness of this recipe in there. In addition I like to leave some space at the top of the 9 oz cups so I have plenty of room for peeling the paper off later.

4. There really isn't a number four. I just like it when things are even. Five bucks says most of you do too so don't judge me people.

This is a Cleo and Luna approved recipe


Homemade Gourmet Frosty Paws

What you need:
~Large container of Low fat or Fat Free Plain Organic Frozen Yogurt (48 Fl. Oz)
~Your favorite creamy peanut butter (Clearly I'm a Skippy kind of gal)
~Salt Free peanuts (coarsely chopped)
~9 oz. Coated paper cups

1. Set all your cups out in a row (I usually construct 6 to 8 cups at a time). Then fill the bottom of each cup with a layer of frozen yogurt. Use the spoon to push it down so it's compacted. My base layer is usually about an inch or so deep.

***Note: You want the yogurt to be on the soft side but not melting. If it gets to soft it makes sticking to the peanut butter a challenge. So if this occurs throw the cups and the large yogurt container back into the freezer to stiffen them up again.***

 
2. Spoon a dollop of the peanut butter on top of the yogurt and use the spoon to push it firmly down. You don't want to push the peanut butter into the yogurt but you want to eliminate any air gaps.
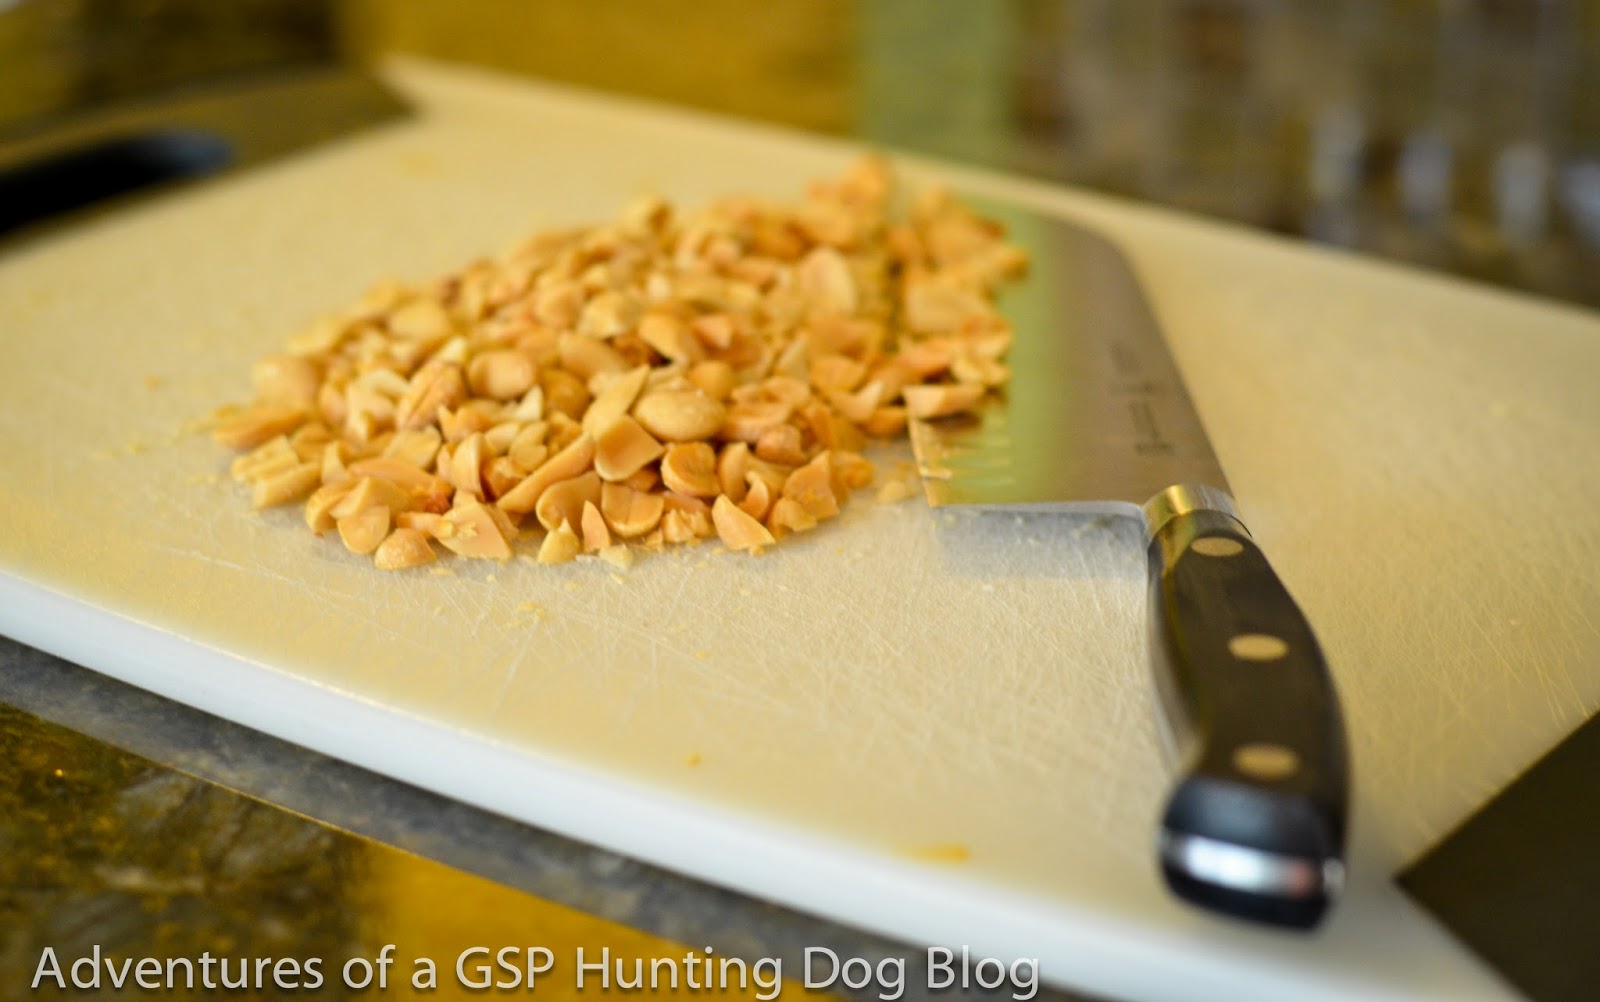


3. Sprinkle in your salt free chopped peanuts. Use your fingers to gently push them down onto the peanut butter.

4. Put your final layer of frozen yogurt on top and do your best to push it down so its set in there nice and tight. You should have about an inch and a half of empty cup remaining at the top. Take the full cups and leave them in your freezer until they are fully frozen. It shouldn't take longer than a couple of hours. Once frozen use a scissors to cut a line into the top inch of the cup and then peel the paper cup off of the frosty paw. Serve in an area you don't mind a mess.

Peeled but with the bottoms and backing still on. I didn't want a mess on my counter. 

Luna chasing a rogue peanut

There are plenty of variations to this recipe so if you decide you want to switch it up here are some suggestions:

Omit the salt free peanuts and instead use thinly sliced ripe bananas. If you want both then simply switch your creamy peanut butter to chunky.

Or omit the peanut butter and use canned pumpkin. Be sure not to buy canned pumpkin pie. Then sprinkle the pumpkin with chopped salt free peanuts.

Or add a layer of broken up dog biscuits. I'd suggest using homemade dog biscuits for that. If your not sure how to make them check out one of my recipes for that here.

AND if you decide you want to make these for yourself and you have no plans on sharing yours with the dogs throw in a layer of Carmel or fudge. Or go a healthier route and use granola and fresh fruit like strawberries, blueberries or bananas. And be sure to stick a Popsicle stick in the cup when finished so you don't have to lick them off the floor like the dogs although after enough bourbon and lemonade slushies you may have too.

Like us and follow our madness on facebook at: Adventures of a German Shorthaired Pointer
and get more recipes from us here.

Monday, June 25, 2012

Sweet Potato Dog Treats


Last year my girlfriend Jackie gave me some sweet potato dog treats that were wrapped in this bacony meat stuff. Cleo LOVED them. I have looked everywhere for similar treats and have been unsuccessful in finding any that are manufactured in the United States. I found plenty that come from China but I am definitely not buying those. So that left me with having to make them myself mad scientist style. Which is fine since I make most of Cleo and Luna's dog treats anyway and who doesn't love a good recipe creating experiment?  Click here for some recipes I have shared in the past.

These treats are pretty easy to make since the dehydrator does most of the work. I make huge batches of all kinds of jerky during hunting season so I have a pretty snazzy Cabela's dehydrator but any simple one will do the job. Some people when they make jerky or dehydrate foods they use their oven. I personally am not a big fan of this for two reasons: 1. Most ovens (like mine) can't or won't hold temps below 160 degrees so instead of dehydrating your baking. 2. I don't want to give up the use of my oven for hours at a time. Besides....as a self proclaimed cooking and baking junkie any excuse for me to get another gadget, electronic or swanky cookware thing, well I'm all over that. But as previously stated an inexpensive dehydrator will work just fine.

A couple of things about the recipe first and then I'll stop blathing on and give it to you. You want the sweet potato pieces to be the same thickness so use a mandolin. Keep in mind the thicker the slices the longer it will take to dehydrate. And just when you think I can't possibly spoil my dogs anymore than I currently do I am wrapping these sweet potato treats with prosciutto. Yea....that's right delicious dry cured Italian ham. Yummmmmm. I originally thought I would use bacon but my experiences with making jerky have taught me that fat doesn't like to be dehydrated and considering bacon is mostly fat it left me to find alternative choices. I will also share that I did not have the prosciutto sliced for me at the deli counter. I bought it presliced and packaged as the slices tend to be more uniform. Also as an aside I'm pretty sure that you could use regular ham, turkey or roast beef lunch meat as a substitute for the prosciutto. I personally went the prosciutto route since its dry cured ham and the less moisture the better when dehydrating. And before anyone flips out that I'm giving my dog ham and that I have doomed them to get Pancreatitis I already tackled that subject from my soap box when I made Pineapple and Ham Quail Biscuits. Feel free to check it out. So without further ado:


My Sweet Potato Dog Treats


What you need:
~2 medium and similar shaped sweet potatoes
~Approx. 9 ounces of prosciutto

1. Use a mandolin to slice the sweet potatoes long-wise. If the slices are so thin they feel like potato chips you need to increase the thickness. About a 1/4 inch is perfect. Then with a knife cut each sweet potato slice in half longways.


2. Cut each slice of prosciutto longways into two or three pieces. Wrap one prosciutto piece around one sweet potato slice and repeat. It is very important not to walk away or get distracted during this phase of the recipe.

Clearly it's not just my dogs who are ill behaved.  Please note how they cast the potato slice away like it was worthless. 

Pre-dehydrated....post cat chewed. 

3. Place the freshly wrapped treats onto trays in the dehydrator. How long it takes for the treats to be done will depend on the thickness of the treats, what kind of dehydrator you use and how full it is. It took my dehydrator about 4 hours on 150 to 160 degrees to finish. If your unsure check them intermittently every two or three hours to see if they are ready.

4. Remove them from the dehydrator and let them sit out for approximately an hour before storing them in the fridge or feeding them to your doggie children.

Finished product

Cleo and Luna approved this recipe and want you to know they give it four paws up. 


The treats came out great so I think I will be sliding this recipe into regular treat rotation. Be sure to check us out and follow us on facebook: Adventures of a German Shorthaired Pointer.

Tuesday, May 31, 2011

Homemade Peanut Butter Frosty Paws!

I know it's hot out when Cleo doesn't really want to go outside. Unless there is a squirrel or a three legged cat sitting on our deck she's not leaving the cool comfort of the hardwood floors. So I'm left being creative to keep her cool. One or two days a week we rock the doggie pool, I take her to local ponds or let her run in the creek by our house. She also LOVES being squirted with the hose but if do you anything with her to much she gets bored. She loves eating ice cubes so just to switch it up I make her homemade peanut butter frosty paws. They are super easy to make and I know they are good for her because I know whats in them.

Peanut Butter Frosty Paws

What you need:
~1 32oz. All natural plain nonfat yogurt
~1 Tbsp of honey
~1 Cup of peanut butter

1. Place the yogurt in a bowl. Whisk in the honey and then whisk in the peanut butter until smooth.


2. Then use a ladle and fill two ice cube trays. Place the filled trays in the freezer until fully frozen.


It's even yummy before it's frozen!

When your ready to give your pup a frozen treat just pop one out of the ice cube tray! They will last for a  few weeks frozen but I'm pretty sure they won't last that long.

Tuesday, April 19, 2011

Bison Burger Dog Treats

It's been awhile since I posted one of Cleo's favorite dog treat recipes so I thought I would throw one out there for you guys. If you have ever read any of my earlier dog treat rants you would know that I believe in making homemade dog treats for Cleo because they are healthier for her and I never have to worry about recalls ect. Besides, Jim and I are health freaks and if I won't eat it I won't feed it to my dog. That's not in anyway implying I eat dog food...because I don't. But I will say that I have in fact eaten one of these treats and they are super yummy...so lets just pretend I didn't admit that.

Bison Burger Dog Treats

What you need:
~1 lb of ground bison meat, cooked and strained of fat
~1 1/2 Cups of grated cheddar cheese (I prefer cracker barrel aged reserve mainly because I can steal slices of it while I grate it....clearly I'm not a role model...moving on)
~6 Slices of turkey bacon, fried, patted dry and crumbled
~2 Cups whole wheat flour
~2 Eggs
~1/4 Cup of water

1. Preheat oven to 350 degrees. In a mixer combine the whole wheat flour, eggs and water. Beat until combined. Add in the cooked ground bison, grated cheese and crumbled turkey bacon. Mix until a sticky dough forms.
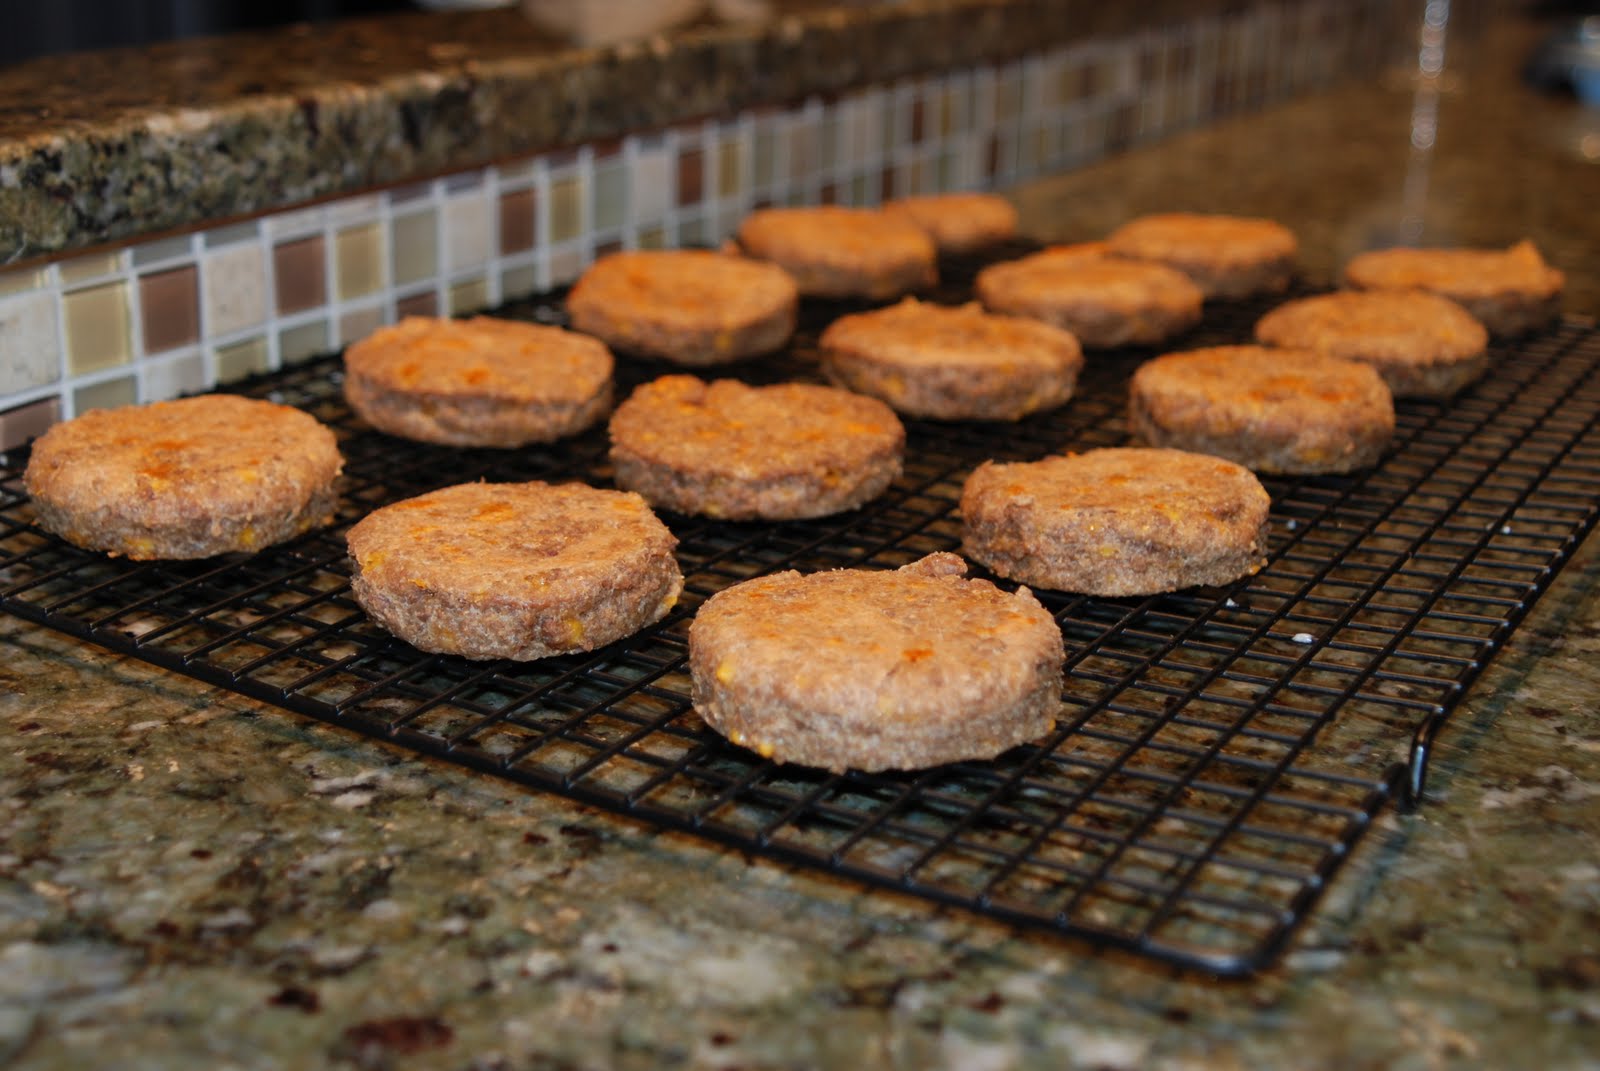
2. Roll out the dough on some parchment paper and cut small burger patties out with a round biscuit cutter. Place the patties on a cookie sheet and bake for 10 minutes. Then flip the burgers and bake for an additional 10 minutes. Place the patties on a cooling rack and store in the fridge when cool.
These little patties hit the spot and make for a happy spotted doggie. Somehow Cleo always knows when I am baking for her because she circles the kitchen like a shark in shallow water. Okay maybe that was a poor analogy but you got my point. Hope your doggies like em!

Be sure to find us and like us on facebook: Adventures of a German Shorthaired Pointer

Tuesday, January 25, 2011

Ham and Pineapple Quail Biscuits


Today I was having a conversation with one of my most favorite people on this earth (who also happens to be my sister in-law) Rebecca, regarding feeding people food to dogs. We both agreed that there is alot of information out there. Rebecca made the point that half the stuff you read tells you one thing is awful for your dog and the other half tell you its absolutely acceptable. So how is somebody to figure out what is okay to feed your dog?? I thought it was a great question.

I'm bringing this up because there is a common stigma that pork is awful for your dog. I don't necessarily believe that. The two biggest arguments against feeding your dog pork is that your dog can contract Trichinosis which is an intestinal roundworm. I'm going with the Alton Brown thought process on this which is in modern day America pork has for the most part been breed free of any Trichinosis along with any great flavor. Hence the heritage pork movement...but that's really for another blog. Besides if your pork is cooked thoroughly and or frozen for up to a month Trichinosis will not survive. Some people also claim that ham causes Pancreatitis. If your feeding your dog a balanced diet pork should not cause anymore issues than feeding your pup bison, chicken, beef or lamb. If you give your dog an awful fatty diet and never exercise it than yeah...its probably gonna have some issues. The same thing happens to people who eat awful fatty diets and never exercise, they tend to have health issues too. But in the end, ham and pineapple tastes yummy and doggies think so too. So here is a recipe for Ham and Pineapple Quail Biscuits. I found a base recipe on the internet and made some small changes to it but here it is:

Ham & Pineapple Quail Biscuits

What you need:
~1 Cup of grated or shredded ham steak
~20 oz. can of crushed pineapple with its own juices
~3 Cups of whole wheat flour
~1/2 stick of butter, softened
~1/2 tsp cinnamon

1. Preheat the oven to 350 degrees. In a large bowl combine the whole wheat flour and cinnamon. In another bowl combine the pineapple with its juices, the ham and the butter. Then mix the dry ingredients to the wet ingredients until a dough forms.

2. Roll the dough out on a floured surface to a 1/2 inch thick. Use the quail cookie cutter to cut out biscuits and place on a lightly greased cookie sheet.


3. Bake in the oven for 10 minutes then flip the quails and bake for another 10 minutes. Let the quails cool completely on a cooling rack and then keep in the fridge in an airtight container. 

You can use any kind of cookie cutter for these biscuits but I use the quails because Cleo is a bird dog. I found the super cool cookie cutter here: http://cookiecutter.com/ under the bird category.  They also have all kinds of doggie cookie cutters like bones, paw prints, fire hydrants and of course quails.  :)

Sunday, January 9, 2011

Homemade Doggie Snacks: Peanut Butter Biscuits

Aside from bird dogs and mixed martial arts some of my other passions are cooking and baking. So Cleo is pretty lucky and gets a lot of homemade dog food and dog treats. I prefer making her dog treats as opposed to purchasing them because it gives me the benefit of knowing exactly what she's eating. I also never have to worry about treat or biscuit recalls due to salmonella or other contaminants. We do buy some of her treats but most of them are homemade. 

I also like giving her homemade food in addition to her dry food because I can't help but feel she is eating healthier. Both Jim and I are competitive athletes and I know when I am training for a fight I can't eat crappy food. My body is being used like a machine and it needs good fuel to run it otherwise it just doesn't reach its peak performance. You would never put 87 octane fuel in a Ferrari and expect it to run efficiently. You give a Ferrari race fuel. Peoples bodies and dogs bodies work the same way. If Jim and I expect Cleo to go out and run her hardest and work a field efficiently we better supply her with the right fuel for the job. So Cleo gets alot of good healthy food and homemade treats.

One of Cleo's favorite treats are Peanut Butter Biscuits. I've listed the recipe below:

What you need:
1 Cup of rolled old fashioned oats
2 Cups whole wheat flour
1 Cup peanut butter
1 Cup water
1/4 Cup canola oil
1 Egg

1. Preheat oven to 350 degrees and grease 2 cookie sheets with non-stick spray. Mix all the ingredients together in a bowl. Flour a flat clean surface and roll the mixture out to 3/4 of an inch thick. Use a dog bone cookie cutter to cut out the biscuits and then place them on a lightly greased cookie sheet.


2. Bake for 20 minutes and then flip the biscuits over and continue baking for another 20 minutes. When the biscuits are finished place them on a cooling rack to cool and dry out. Never give your pup a hot biscuit! Store the biscuits in a sealed container in the refrigerator.


Cleo loves these biscuits and they keep up for 2 weeks in the fridge....not that they ever last that long. You can also see the bits of oats and goodness in them as oppossed to the processed look of Milkbones. I also like that they only have 6 ingredients unlike Milkbones which has a long list of stuff in them. I actually listed the ingredients to Milkbones below as a comparison. Check it out and come to your own conclusion.

Milkbone Ingredients: Wheat flour, beef meal and beef bone meal, milk, wheat bran, beef fat preserved with tocopherols, salt, dicalcium phosphate, wheat germ, natural flavor, calcium carbonate, brewers dried yeast, malted barley flour, vitamins (choline chloride, dl-alpha tocopheryl ecetate [vitamin e], vitamin a acetate, calcium pantothenate, riboflavin, vitamin b12 supplement, d-activated animal sterol [source of vitamin d3]), sodium metabisulfite (dough conditioner), minerals (zinc sulfate, copper sulfate, ethylenediamine dihydriodide [source of iodine]).